

Infinity scarves. They're everywhere. And I've been dying to wear one. But I refused to buy one, because I knew I could easily make one myself for much cheaper. So I put it on my to-do list and there it sat. When I finally got around to purchasing fabric for this project, I realized my mom's birthday was just two days away and I still hadn't gotten her a gift. {I blame mommy brain} So, I purchased a lovely linen-blend fabric that I knew she would love and whipped up my first infinity scarf. She loved it. So back to the store I went, this time for my MIL. {unlucky me--their birthdays are only 10 days apart} She loved her scarf as well {although since she's not on Pinterest I did have to show her how to wear it...}. So finally, I decided it was my turn. Back to the store I went, potty-training tot and little sister in tow. After a potty-training snafu, a mess of cheddar cheese crackers crunched up on the floor, a screaming, hungry baby girl, breastfeeding in the parking lot and sweating like a pig, I had my material and I headed for home. {Note to future potty training parents: even if you think there will be a working semi-decent public restroom at your destination, it's probably best to bring along your potty for times when the sewer lines are backed up and said restroom is unavailable and retail associates are less than happy to help a mom in distress...}

I decided to use a jersey knit material for a lightweight scarf I can wear year round. The linen-blend that I used for my first two scarves also makes a really nice lightweight and pliable scarf. Either way, you'll need two 1/3-yard pieces of fabric {or 2/3 yard of one fabric}. I cut each 1/3 yard piece of fabric right down the center into two 12-inch pieces of fabric. So you'll end up with four strips of fabric, each roughly 6 inches wide. {Precision doesn't really matter with this project. You'll never see a crooked seam. Promise.}


{This was my lovely assistant for this project. Isn't she gorgeous? I'd recommend a drooling, sedentary, quick-to-smile assistant for your project too!}

With right sides facing in, stitch the two pieces of the same fabric together using roughly a 1/2" seam allowance. Repeat this step with the other two pieces of fabric.

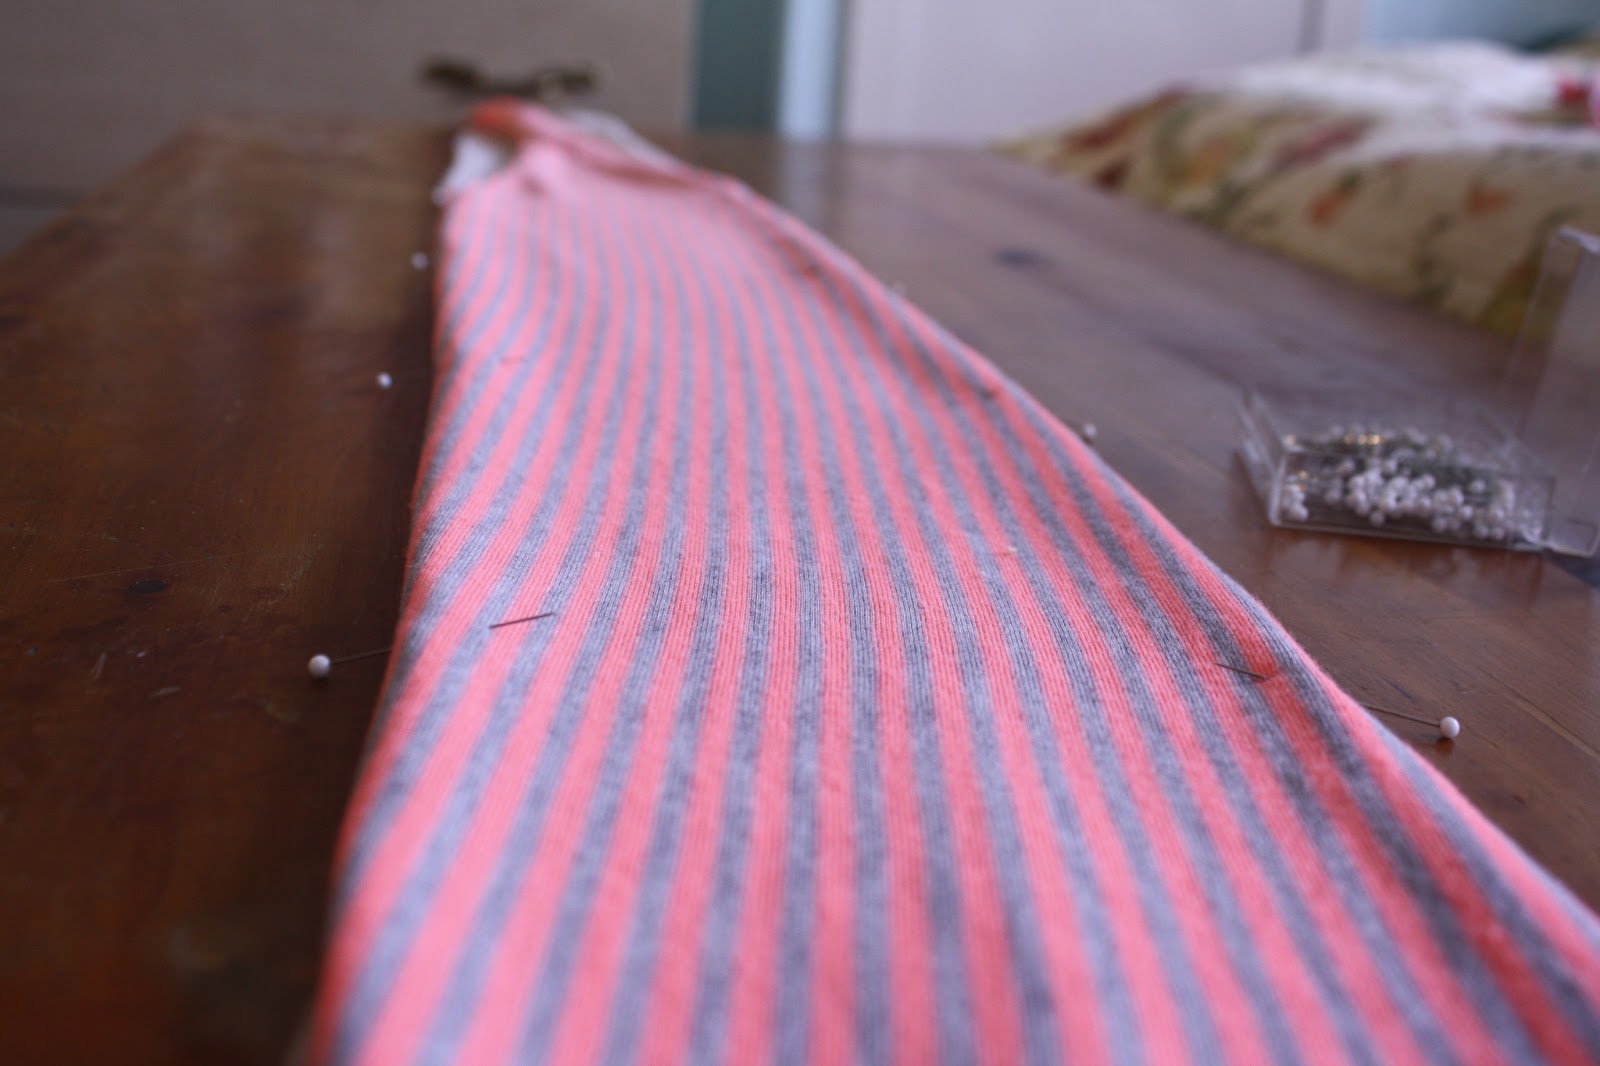
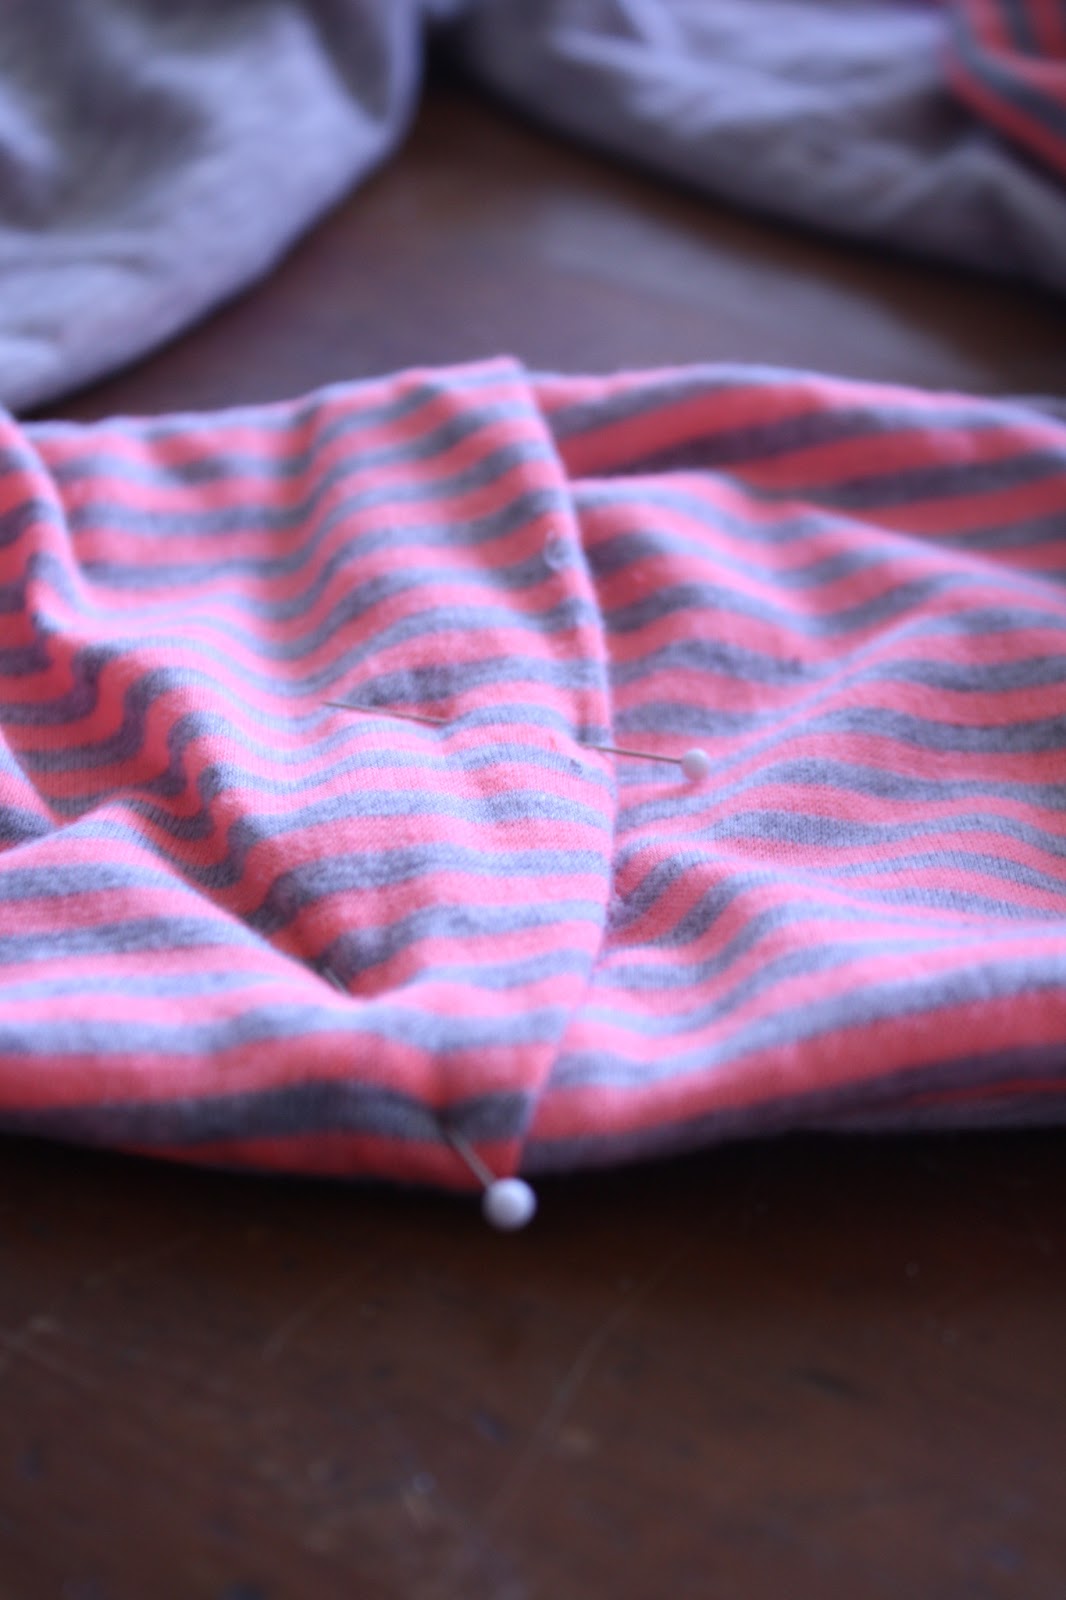
Now you need to pin the two pieces of fabric together. I like to start at the seams and work out to each end, because you will see a mismatched seam. So, with right sides facing in, match seams and pin. From the seam, pin both sides until you reach the end of the fabric.

Don't worry if your ends are uneven. You can just cut the extra fabric to even them up later.

Once you have your scarf pinned, it's time to sew it together. Using about 1/4" seam, stitch around three sides of the scarf, leaving a short end open. {stitch right over the center seams, flattening as you go}

Note: if you're using a jersey knit material, make sure you turn your tension down or else you'll end up with a bunched seam.
After you've stitched around three sides, turn your scarf right side out, making sure to poke out the corners with a chopstick or other similar tool. Turn down the open edges to make about a 1/2" seam. Iron if necessary. {I was in such a hurry, I skipped this step} Tuck the finished end inside of the open end and pin. If you are using a patterned material, try to match it up. Stitch closed using a 1/2" seam. Stitch the scarf again using a 1/8-1/4" seam. So you'll end up with a seam that looks like this:

And there you have it. An easy, cheap and fun infinity scarf! I think I'll be making quite a few more of these to accessorize my Spring and Summer wardrobes!
.JPG)
.JPG)
{nevermind the potty in the background!}
What about you?
No comments:
Post a Comment