

Ever since I came across the idea of reusable cotton pads, I've wanted to make some of my own. Like I said before, the only makeup I wear {if any} is mascara, so I usually use two cotton pads in my evening makeup removal routine--one for each eye. Sure, it's only two a day and when you buy the bulk pack from BJ's, it takes quite a while to move that many cotton pads. But knowing there was a cheaper, more sustainable option available, I decided that when I ran out of my last pack of cotton pads, I wouldn't buy them any more. So now, I use these reusable cotton pads and because they're a little bigger and a little thicker, I can use one pad for both eyes! {fist pump!} Plus, I feel better about knowing that I'm working toward a more sustainable lifestyle, which is something very important to me. {You can read about cloth diapering here or click here for a tutorial on reusable paper towels}
So, here's what you'll need to make yourself some reusable cotton pads:
~ some soft flannel {anything will do from new flannel by the yard to an old sheet or pillowcase}
~ scissors or rotary cutter/mat
~ sewing machine and matching thread
First, cut out 3-in. squares from your flannel. You'll need three squares for one cotton pad. I made 25 cotton pads so I cut out 25 squares from the patterned flannel and 50 squares from the plain flannel.

Then, pin three pieces of flannel together as shown below. If you're using a patterned piece and some coordinating plain fabric like I did, then be sure to pin the right sides together. You'll want to leave a small space {about one-and-a-half inches} for turning your pads right side out, which is why I put two pins on the one side. {I sometimes forget to leave my space until the end and it's easier to close up your space when it's in the middle of your fabric rather than at an end.}

Stitch around each pad with about 1/4" seam allowance. I usually just line it up with the edge of my foot and zip around. Again, be sure to leave about a one-and-a-half-inch space along one side so that you can turn it. Don't forget to backstitch on both sides of the open space, otherwise your threads will unravel when you go to turn it right side out.

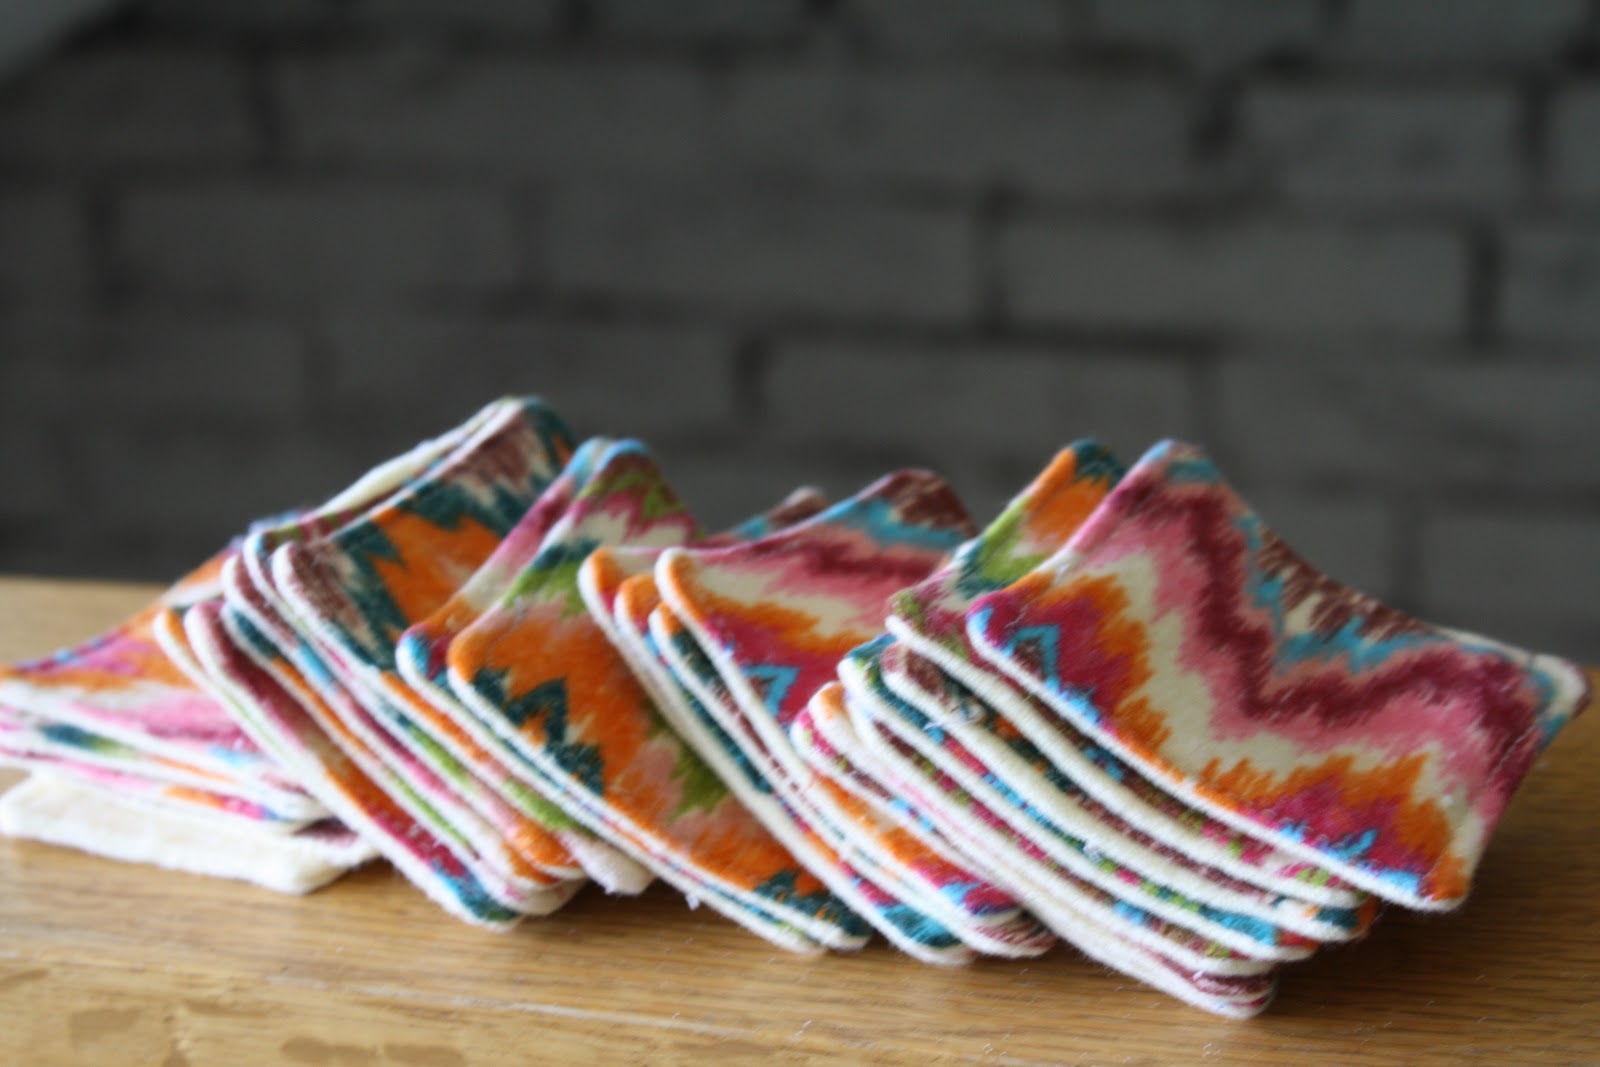
Clip all four corners of your pad and trim off the excess material {not necessary, but it'll make top stitching easier if there's less bulk}. Go ahead and turn your pads right side out, poking out all four corners with a chopstick {or whatever tool you prefer}. Fold the open seam under about 1/4 inch and press with a hot iron to hold it in place. Top stitch around each pad, sewing the opening closed. I sew as close to the edge as possible--about 1/8". You'll probably have to hand crank your corners as it gets a bit bulky and hard to feed through the machine. But once you finish, you'll end up with a pretty little reusable cotton pad like this:

Nice and thick and soft!

I will warn you that this project can be a little time consuming, since you're working with small pieces. But it's totally worth the effort! And if you're going to make a few, why not make a few more so that you'll have enough to last you for a while.

If you need some eye makeup remover to go along with these reusable cotton pads, check out my tutorial for avocado eye makeup remover. It's ah-mazing!

Not up for the project? Want some of your own or for a gift? Email me at lifesongmama@gmail.com for more information about placing your custom order.


