Showing posts with label DIY. Show all posts

Thursday, January 2, 2014

Violet's 1st Birthday Party

For the past year, we've been trying to decide on the best way to celebrate our baby girl. Having burst into our lives on Christmas Eve, Violet gave us quite a challenge. We always want to be intentional about celebrating her and not letting her blur into the chaos of Christmas celebrations, for now, my hubby and I decided that we would celebrate Violet by hosting a Christmas Eve brunch party. We decided to have it at our house, so we set it up more like an open house in order to accommodate a bunch of people {because our house is reeeeeeally tiny!!}. I didn't really have a theme in mind, but stuck with a few concepts instead. White. Gold. Feathers. Our house is hit or miss on lighting so my photos aren't amazing, but here are some photos of our celebration. 


Her yarn tutu kept shedding so I'll have to figured out a way to stop that. It was also a bit full and heavy {although still pretty!} so I'm thinking a lot less yarn/less full next time. I like the concept but need to tweak it to make it perfect.


I made this dream catcher to go with our party but also to decorate the teepee we made the kids for Christmas.


I am so thankful for friends and family who stopped by to help us celebrate the little girl who stole our hearts one year ago. She is a light and a joy. Happy and content. Her smile lights up a room and her eyes twinkle so brilliantly. Happy birthday, Violet Laine! 

Monday, October 28, 2013

Homemade Elderberry Syrup


Fall brings a lot of wonderful things, but it also brings on cold season. Last night was a reminder for us, as my husband and I took turns rocking our coughing little boy. Nothing breaks my heart more than his sweet little face twisted in discomfort and sorrow. So, today, I made elderberry syrup. It's been on my to-do list for a while now, and thankfully, I had just purchased some elderberries at Kramer's Spice Market at Central Market.

So before I share the recipe, I want to share the healing properties of each ingredient in this amazing syrup:
~ Elderberries are often used for their wonderful antioxidant properties that help boost the immune system in order to fight coughs, the flu as well as bacterial and viral infections.
~ The healing properties of raw honey are too numerous to list. Simply put, honey is considered a cure-all remedy for nearly everything. From burns to bones to immune systems, it works magic all around. For this recipe, however, raw honey boosts the antioxidant properties of the syrup and it helps stimulate the immune system to fight infections such as colds and other bacterial or viral infections.{NOTE: local raw honey is the best and can be found at your local farmers' market or health food store. If you cannot get local raw honey, make sure you purchase raw honey, as the integrity of the product has not been refined, removing all of the good healing properties.}
~ Cinnamon contains antibacterial and anti-inflammatory properties which help aid digestion as well as help raise the body temperature which combats breathing problems. As a result, it is an excellent addition to this syrup, as it helps fight coughs and colds.
~ Cloves contain both antioxidant and anti-inflammatory healing properties {among many others} that aid the effectiveness of this syrup.

Homemade Elderberry Syrup
~ 2 oz. dried elderberries {or 4 oz. fresh}
~ 4 cups water
~ 3/4 cup raw honey
~ 1 cinnamon stick
~ 1/2 Tbsp. ground cloves

Combine water and elderberries in a saucepan and bring to a boil {uncovered}. Reduce heat and simmer about 30 minutes. Add cinnamon stick and cloves and stir to combine. Continue simmering, uncovered, for an additional 30 minutes, or until reduced by about a third to half. Remove from heat and strain liquid into a bowl {I used cheesecloth}. Allow liquid to cool to about room temperature. Add honey and whisk to combine. Pour syrup into an airtight glass container and store in the fridge. It will keep for a few months in the refridgerator. Recommended dosage: 1/2-1 tsp every 2-3 hours for small children/toddlers at the onset of illness, continuing only for a few days {not more than 5}. For bigger children and adults, increase the dosage to 1/2-1 TBSP every 2-3 hours.

** Never give to infants under 1 year since it contains raw honey. And, as with anything, I encourage you to do your own research! This is an excellent source on the topic.

Monday, June 17, 2013

Burke's Farm Party


Burke is the kid you see sitting on every riding mower in Lowes. He loooves tractors. {what little boy doesn't, I guess...} And he loves animals of all shapes and sizes--his favorite {the day I asked him, anyway} is a cow. So we decided to put together a farm party to celebrate his second birthday this year. Although I didn't really get many actual invites sent out {thank goodness for Facebook events!!}, I printed these invitations and built Burke's party around them. 


I thought it would be cute for us all to wear a shirt with one of the animals from the invitation on the front. So, using this diy screen printing tutorial, I whipped up some shirts for us to wear. {Of course, I didn't really start planning his party until about a week before, so naturally I was begrudging my ambition as I stayed up way too late the nights before the birthday bash.} And ps--don't you love his outfit?? He insisted on wearing his boots and I think they completed his outfit!


I found some free templates for animal silhouettes and scaled them in Word {because I don't have fancy programs that would probably make my life a bit easier} to be the size of the print I wanted for each shirt. I used a 6" embroidery hoop to make the pig, cow and horse and a 4" one for the duck. I found Ben's and my shirt at our local thrift store and used one of Burke's old t-shirts, since his would be irreparably filthy by the end of the day. I had the hardest time finding a single white onesie for Violet to wear and ended up having to buy a 3-pack. {I should have read the label better because when I got them home and washed them I realized they were LONG SLEEVED onesies...ugh! So I just cut off the sleeves and left them unhemmed because, well, there just wasn't time for that too!} I thought they turned out pretty well but the paint did separate a bit when the shirts were stretched. 


And because Violet couldn't just wear a onesie to her brother's birthday bash, I quickly whipped up a cute little diaper cover with some leftover gingham that wasn't otherwise being used. I used this free pattern and tutorial and found it super easy to follow. {You can find the tutorial I used for her bonnet here}


I decided to skip the cake and go with cupcakes this year. We had vanilla bean cupcakes with vanilla bean icing and vanilla bean cupcakes with strawberry icing. Both were delicious and I may or may not have eaten half of the icing as I put them together. I made the cupcake toppers using free images I found on the internet and simply inserting them into Word and adding a circle shape over top to make cutting easier. Then I put my hubby and inlaws to work cutting and pasting! In addition to cupcakes, we had my mom's homemade whoopie pies {cow patties??? I neglected to make that label!}, and a ton of other sweet snacks. 


I went with a traditional picnic menu {at least for my neck of the woods} since it reminded me of things you might eat on a farm {at least we ate them growing up on a farm}. I kept the menu simple with pulled pork, hotdogs, baked beans {from scratch and to die for!}, macaroni salad and fresh fruit and vegetables. Click here for my burlap happy birthday bunting. And for another easy diy, I painted an old wooden cutting board with chalkboard paint which we usually use as our grocery list. 


Burke is super into singing happy birthday to anyone and everyone all the time, so he was really excited for that part of the party this year! I found tractor candles at the grocery store {surprising little win!} which pretty much made his whole year. {I love 2-year-olds!! They can--at times--be so easy to please}


Although he was a little shy with all of the attention, he wasted no time diving into the icing on his cupcake. I'm pretty sure this {and the bajillion cheetos he ate} was his favorite part of the party. And seriously, check out his grubby face and hands...those are beautiful signs that he was having the best day ever and that's all I wanted for him.


We kept the party small this year {went waaaay over board on #1, but with 2 huge families, it's kind of hard not to} with mostly local family members in attendance. For the few kiddos that came, I made cute little drawstring bags and filled them with some toy animals and an apple.


All in all, I'd say his party was a huge success. He had a blast and I had so much fun participating in his joy. Seriously, guys, kids are the best!!


Monday, June 10, 2013

Easy No-Sew Burlap Birthday Bunting {Tutorial}


Happy Monday! It's a dreary rainy and perfect day for recuperating from our busy birthday weekend! {It's nap time and the silence is beautiful...I can even hear the dog snoring!} We celebrated Burke's 2nd birthday on Saturday {post coming soon!} and although I was exhausted from planning, cooking and crafting for his big celebration it was such a pleasure to watch him enjoy his day. So while I'm still going through all of the pictures from our weekend and working on a post about his party, I thought I'd share a simple no-sew project you can whip up for your next party.

What you'll need:
>> burlap {a 1/4 yard should be more than sufficient}
>> a piece of paper to use as a pattern {unless you want to freehand your triangles}
>> twine, ribbon, or other material to use to create the bunting
>> fabric paint
>> paint brush
>> pencil, chopstick or other similar item to poke holes in the burlap
>> stencils {optional}

What you'll do:
>> Draw a triangle on a piece of paper and cut it out. This will be your pattern. {Make sure the triangle is long and wide enough to accommodate a letter plus two holes along the top--mine were about 4 in. at the widest part by 8 in. long}
>> Using your paper pattern, cut out enough triangles from the burlap to spell whatever sentiment you wish. I needed 13 triangles for my "happy birthday" bunting.
>> If you want to use stencils to get nice uniform lettering, this is the time to break them out. I opted to freehand my letters and I think they turned out pretty good. Make sure to lay down newspaper so that your paint doesn't ruin your work surface. I simply eyeballed the center of my burlap triangle and painted each letter in that spot. In order to keep my letters about the same size, I placed the triangle I was about to paint on top of one that had already been painted and outlined the shape of the letter using the bottom letter as a guide for height and width.
>> Once your letters have dried, take a pencil, chopstick or anything else that might be similar and poke two holes in the top of each triangle, about an inch down from the top. I tried to center my holes about 1 inch down and 1 inch in on each side. I used my first triangle as a guide for the rest.


>> Lastly, cut a piece of twine, ribbon or whatever you're using here as long as you need your bunting to be. I cut my twine about 6 feet long and had plenty on each end to help attach it to the table it decorated. Starting with your first letter, insert your twine up through the back of the first hole and across the front of the triangle back down through the second hole. Repeat this process until all of your letters have been strung.


Hang and enjoy! {PS--I snapped this photo quickly before any of the food hit the table so pardon the empty table}

What are some of the easy diy projects you have done for parties and celebrations? 

Monday, May 6, 2013

Steps Toward Sustainability: Reusable Cotton Pads {Tutorial}


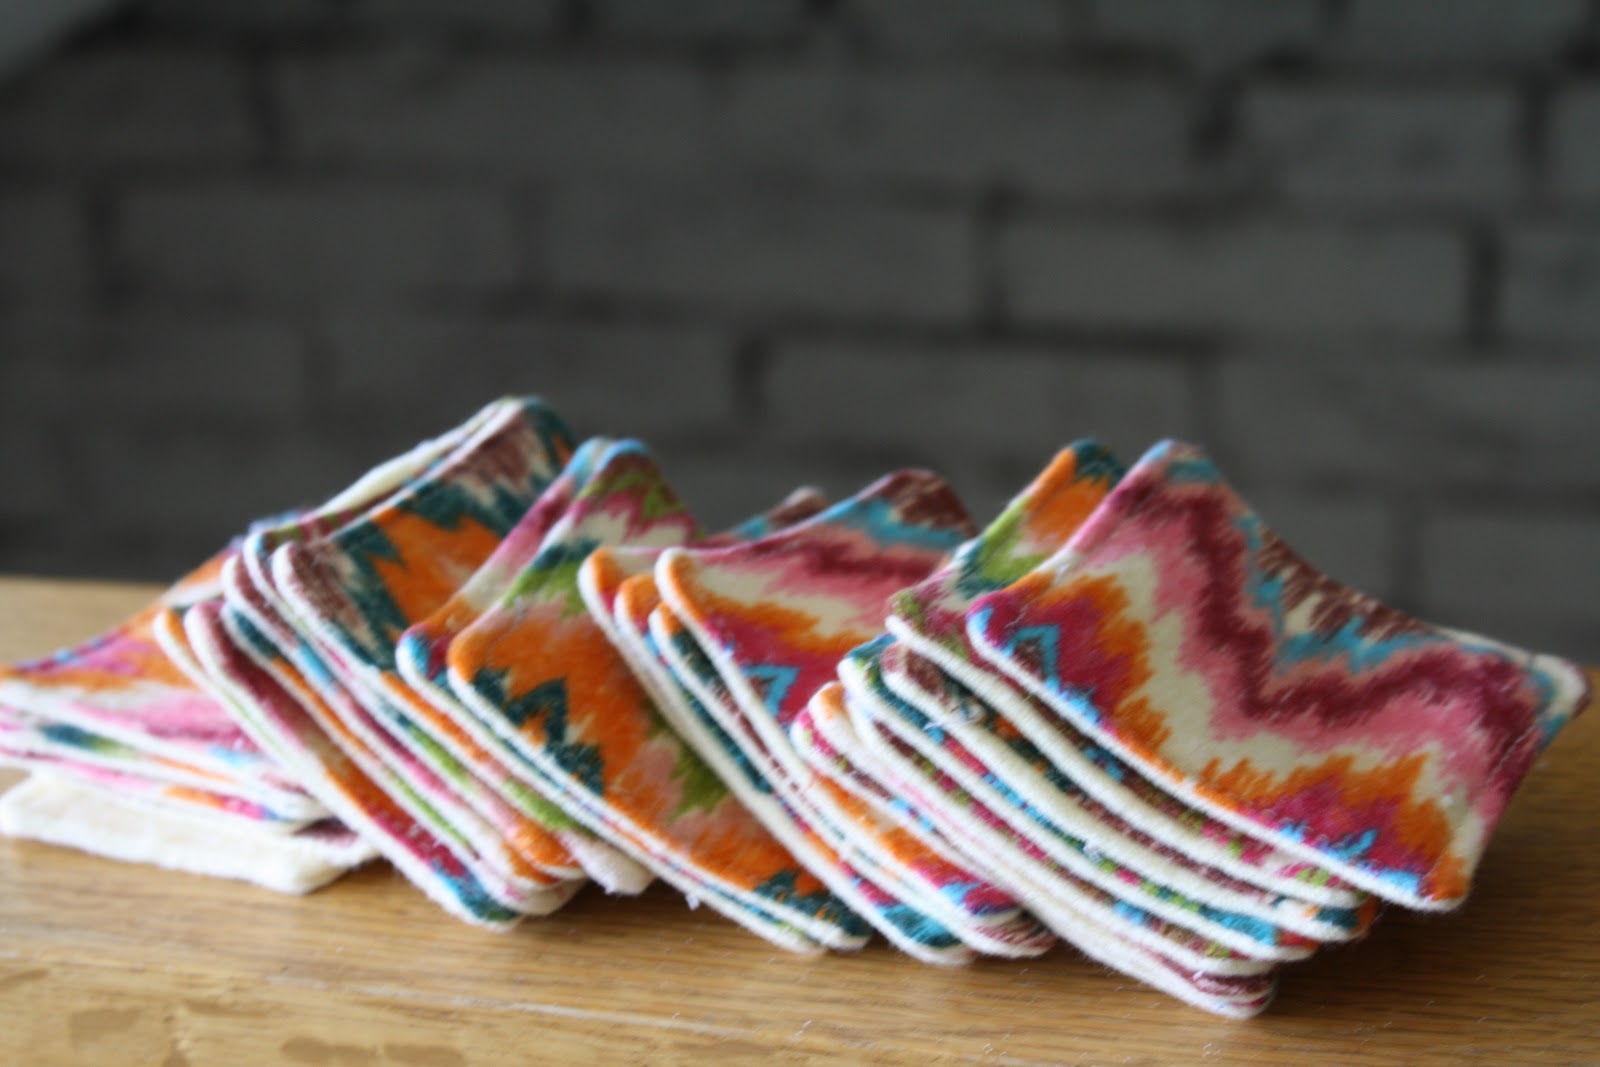
Ever since I came across the idea of reusable cotton pads, I've wanted to make some of my own. Like I said before, the only makeup I wear {if any} is mascara, so I usually use two cotton pads in my evening makeup removal routine--one for each eye. Sure, it's only two a day and when you buy the bulk pack from BJ's, it takes quite a while to move that many cotton pads. But knowing there was a cheaper, more sustainable option available, I decided that when I ran out of my last pack of cotton pads, I wouldn't buy them any more. So now, I use these reusable cotton pads and because they're a little bigger and a little thicker, I can use one pad for both eyes! {fist pump!} Plus, I feel better about knowing that I'm working toward a more sustainable lifestyle, which is something very important to me. {You can read about cloth diapering here or click here for a tutorial on reusable paper towels}

So, here's what you'll need to make yourself some reusable cotton pads:
~ some soft flannel {anything will do from new flannel by the yard to an old sheet or pillowcase}
~ scissors or rotary cutter/mat
~ sewing machine and matching thread

First, cut out 3-in. squares from your flannel. You'll need three squares for one cotton pad. I made 25 cotton pads so I cut out 25 squares from the patterned flannel and 50 squares from the plain flannel.


Then, pin three pieces of flannel together as shown below. If you're using a patterned piece and some coordinating plain fabric like I did, then be sure to pin the right sides together. You'll want to leave a small space {about one-and-a-half inches} for turning your pads right side out, which is why I put two pins on the one side. {I sometimes forget to leave my space until the end and it's easier to close up your space when it's in the middle of your fabric rather than at an end.}

Stitch around each pad with about 1/4" seam allowance. I usually just line it up with the edge of my foot and zip around. Again, be sure to leave about a one-and-a-half-inch space along one side so that you can turn it. Don't forget to backstitch on both sides of the open space, otherwise your threads will unravel when you go to turn it right side out. 


Clip all four corners of your pad and trim off the excess material {not necessary, but it'll make top stitching easier if there's less bulk}. Go ahead and turn your pads right side out, poking out all four corners with a chopstick {or whatever tool you prefer}. Fold the open seam under about 1/4 inch and press with a hot iron to hold it in place. Top stitch around each pad, sewing the opening closed. I sew as close to the edge as possible--about 1/8". You'll probably have to hand crank your corners as it gets a bit bulky and hard to feed through the machine. But once you finish, you'll end up with a pretty little reusable cotton pad like this:


Nice and thick and soft!


I will warn you that this project can be a little time consuming, since you're working with small pieces. But it's totally worth the effort! And if you're going to make a few, why not make a few more so that you'll have enough to last you for a while.


If you need some eye makeup remover to go along with these reusable cotton pads, check out my tutorial for avocado eye makeup remover. It's ah-mazing!


Not up for the project? Want some of your own or for a gift? Email me at lifesongmama@gmail.com for more information about placing your custom order.

Tuesday, March 19, 2013

Because He Lives {Printable Easter Bag Topper}


Easter is right around the corner. First there's Spring. {WOO HOO} Then there's Easter. It feels like it gets earlier each year. And besides being beyond excited for warmer weather and a big and tasty Easter dinner, you know what these two things have in common for me?

Hope. 

There's just something about sunshine and warm temperatures that make my heart overflow with hope and fill my heart with joy. I can face the future and all of its uncertainties without thought. I can take my children outside and enjoy the fresh scent of the Springtime air. Nothing is wrong with the world when my ears are filled with the lyrical notes of their laughter and coos. We can celebrate the wonder of new life: baby animals, baby buds. No doubt about it, Springtime is magical.


And hope of salvation. A hope that fills my heart with an endless and unfathomable love. A love that is greater than me. That tells me I'm beautiful. Perfect. Worthy. Even when I fail. When I'm a hopeless mess. My Daddy sees me as He created me. He doesn't see me the way I do. And there is no greater hope than this.

So as you celebrate the glories of Spring and feast around the Easter table, I wish you a heart full of hope. I pray that you too believe that life is worth living simply because He lives.


{Since my heart-shaped lotion bars were such a hit on Valentine's Day, I decided to make Easter-themed lotion bars for friends and family. Feel free to use my "because he lives" bag toppers for your Easter treats. Click here to download.}

Friday, March 8, 2013

DIY Neon Striped Infinity Scarf {Tutorial}


Infinity scarves. They're everywhere. And I've been dying to wear one. But I refused to buy one, because I knew I could easily make one myself for much cheaper. So I put it on my to-do list and there it sat. When I finally got around to purchasing fabric for this project, I realized my mom's birthday was just two days away and I still hadn't gotten her a gift. {I blame mommy brain} So, I purchased a lovely linen-blend fabric that I knew she would love and whipped up my first infinity scarf. She loved it. So back to the store I went, this time for my MIL. {unlucky me--their birthdays are only 10 days apart} She loved her scarf as well {although since she's not on Pinterest I did have to show her how to wear it...}. So finally, I decided it was my turn. Back to the store I went, potty-training tot and little sister in tow. After a potty-training snafu, a mess of cheddar cheese crackers crunched up on the floor, a screaming, hungry baby girl, breastfeeding in the parking lot and sweating like a pig, I had my material and I headed for home. {Note to future potty training parents: even if you think there will be a working semi-decent public restroom at your destination, it's probably best to bring along your potty for times when the sewer lines are backed up and said restroom is unavailable and retail associates are less than happy to help a mom in distress...}


I decided to use a jersey knit material for a lightweight scarf I can wear year round. The linen-blend that I used for my first two scarves also makes a really nice lightweight and pliable scarf. Either way, you'll need two 1/3-yard pieces of fabric {or 2/3 yard of one fabric}. I cut each 1/3 yard piece of fabric right down the center into two 12-inch pieces of fabric. So you'll end up with four strips of fabric, each roughly 6 inches wide. {Precision doesn't really matter with this project. You'll never see a crooked seam. Promise.}


{This was my lovely assistant for this project. Isn't she gorgeous? I'd recommend a drooling, sedentary, quick-to-smile assistant for your project too!}


With right sides facing in, stitch the two pieces of the same fabric together using roughly a 1/2" seam allowance. Repeat this step with the other two pieces of fabric.


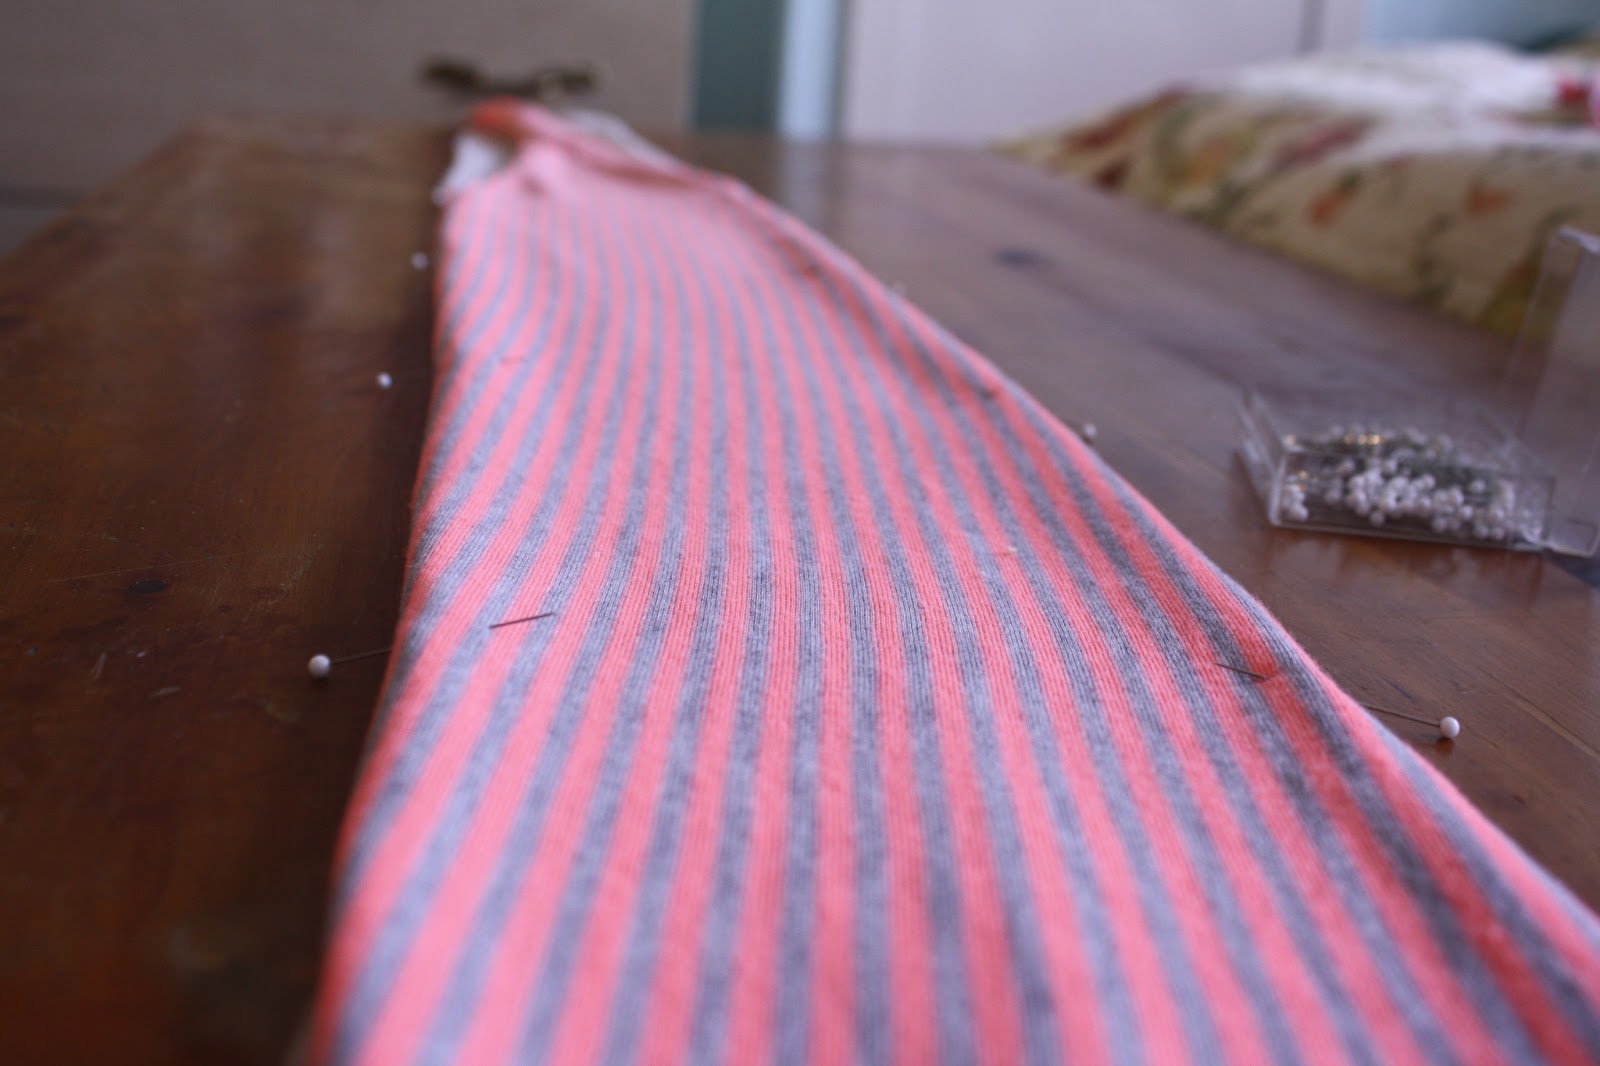
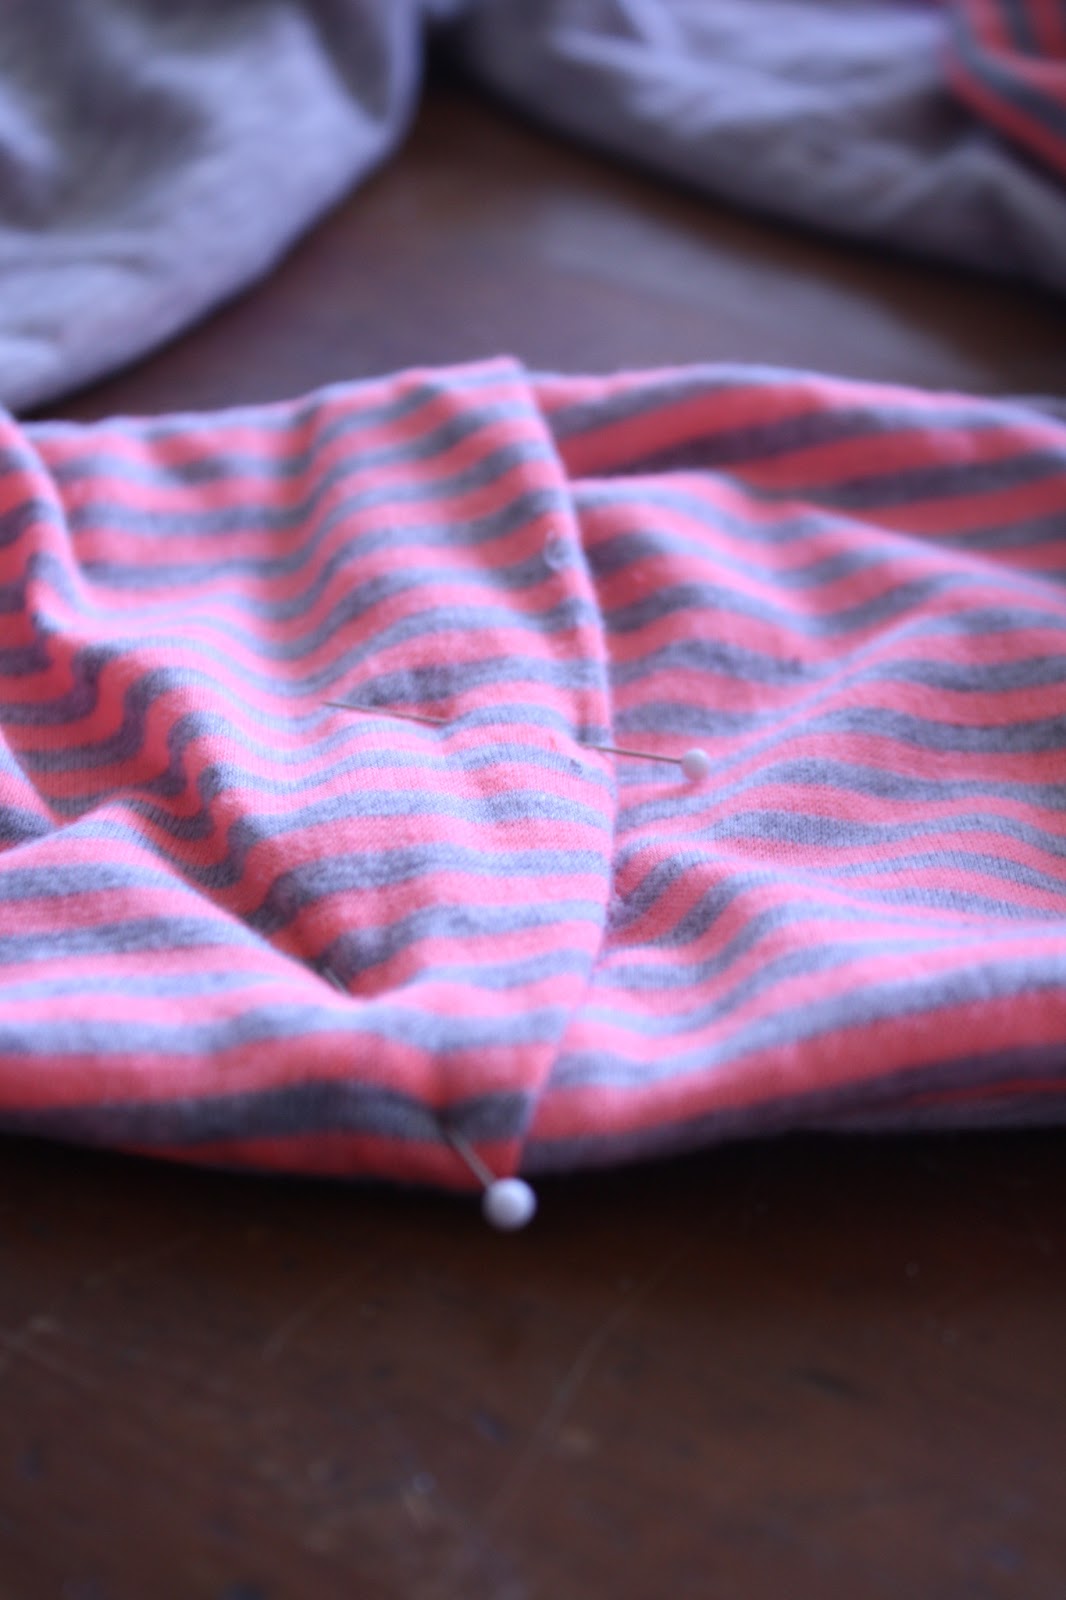
Now you need to pin the two pieces of fabric together. I like to start at the seams and work out to each end, because you will see a mismatched seam. So, with right sides facing in, match seams and pin. From the seam, pin both sides until you reach the end of the fabric.


Don't worry if your ends are uneven. You can just cut the extra fabric to even them up later.


Once you have your scarf pinned, it's time to sew it together. Using about 1/4" seam, stitch around three sides of the scarf, leaving a short end open. {stitch right over the center seams, flattening as you go}


Note: if you're using a jersey knit material, make sure you turn your tension down or else you'll end up with a  bunched seam.


After you've stitched around three sides, turn your scarf right side out, making sure to poke out the corners with a chopstick or other similar tool. Turn down the open edges to make about a 1/2" seam. Iron if necessary. {I was in such a hurry, I skipped this step} Tuck the finished end inside of the open end and pin. If you are using a patterned material, try to match it up. Stitch closed using a 1/2" seam. Stitch the scarf again using a 1/8-1/4" seam. So you'll end up with a seam that looks like this:


And there you have it. An easy, cheap and fun infinity scarf! I think I'll be making quite a few more of these to accessorize my Spring and Summer wardrobes!


{nevermind the potty in the background!}

What about you?