Showing posts with label Tutorial. Show all posts

Monday, June 10, 2013

Easy No-Sew Burlap Birthday Bunting {Tutorial}


Happy Monday! It's a dreary rainy and perfect day for recuperating from our busy birthday weekend! {It's nap time and the silence is beautiful...I can even hear the dog snoring!} We celebrated Burke's 2nd birthday on Saturday {post coming soon!} and although I was exhausted from planning, cooking and crafting for his big celebration it was such a pleasure to watch him enjoy his day. So while I'm still going through all of the pictures from our weekend and working on a post about his party, I thought I'd share a simple no-sew project you can whip up for your next party.

What you'll need:
>> burlap {a 1/4 yard should be more than sufficient}
>> a piece of paper to use as a pattern {unless you want to freehand your triangles}
>> twine, ribbon, or other material to use to create the bunting
>> fabric paint
>> paint brush
>> pencil, chopstick or other similar item to poke holes in the burlap
>> stencils {optional}

What you'll do:
>> Draw a triangle on a piece of paper and cut it out. This will be your pattern. {Make sure the triangle is long and wide enough to accommodate a letter plus two holes along the top--mine were about 4 in. at the widest part by 8 in. long}
>> Using your paper pattern, cut out enough triangles from the burlap to spell whatever sentiment you wish. I needed 13 triangles for my "happy birthday" bunting.
>> If you want to use stencils to get nice uniform lettering, this is the time to break them out. I opted to freehand my letters and I think they turned out pretty good. Make sure to lay down newspaper so that your paint doesn't ruin your work surface. I simply eyeballed the center of my burlap triangle and painted each letter in that spot. In order to keep my letters about the same size, I placed the triangle I was about to paint on top of one that had already been painted and outlined the shape of the letter using the bottom letter as a guide for height and width.
>> Once your letters have dried, take a pencil, chopstick or anything else that might be similar and poke two holes in the top of each triangle, about an inch down from the top. I tried to center my holes about 1 inch down and 1 inch in on each side. I used my first triangle as a guide for the rest.


>> Lastly, cut a piece of twine, ribbon or whatever you're using here as long as you need your bunting to be. I cut my twine about 6 feet long and had plenty on each end to help attach it to the table it decorated. Starting with your first letter, insert your twine up through the back of the first hole and across the front of the triangle back down through the second hole. Repeat this process until all of your letters have been strung.


Hang and enjoy! {PS--I snapped this photo quickly before any of the food hit the table so pardon the empty table}

What are some of the easy diy projects you have done for parties and celebrations? 

Monday, May 6, 2013

Steps Toward Sustainability: Reusable Cotton Pads {Tutorial}


Ever since I came across the idea of reusable cotton pads, I've wanted to make some of my own. Like I said before, the only makeup I wear {if any} is mascara, so I usually use two cotton pads in my evening makeup removal routine--one for each eye. Sure, it's only two a day and when you buy the bulk pack from BJ's, it takes quite a while to move that many cotton pads. But knowing there was a cheaper, more sustainable option available, I decided that when I ran out of my last pack of cotton pads, I wouldn't buy them any more. So now, I use these reusable cotton pads and because they're a little bigger and a little thicker, I can use one pad for both eyes! {fist pump!} Plus, I feel better about knowing that I'm working toward a more sustainable lifestyle, which is something very important to me. {You can read about cloth diapering here or click here for a tutorial on reusable paper towels}

So, here's what you'll need to make yourself some reusable cotton pads:
~ some soft flannel {anything will do from new flannel by the yard to an old sheet or pillowcase}
~ scissors or rotary cutter/mat
~ sewing machine and matching thread

First, cut out 3-in. squares from your flannel. You'll need three squares for one cotton pad. I made 25 cotton pads so I cut out 25 squares from the patterned flannel and 50 squares from the plain flannel.


Then, pin three pieces of flannel together as shown below. If you're using a patterned piece and some coordinating plain fabric like I did, then be sure to pin the right sides together. You'll want to leave a small space {about one-and-a-half inches} for turning your pads right side out, which is why I put two pins on the one side. {I sometimes forget to leave my space until the end and it's easier to close up your space when it's in the middle of your fabric rather than at an end.}

Stitch around each pad with about 1/4" seam allowance. I usually just line it up with the edge of my foot and zip around. Again, be sure to leave about a one-and-a-half-inch space along one side so that you can turn it. Don't forget to backstitch on both sides of the open space, otherwise your threads will unravel when you go to turn it right side out. 


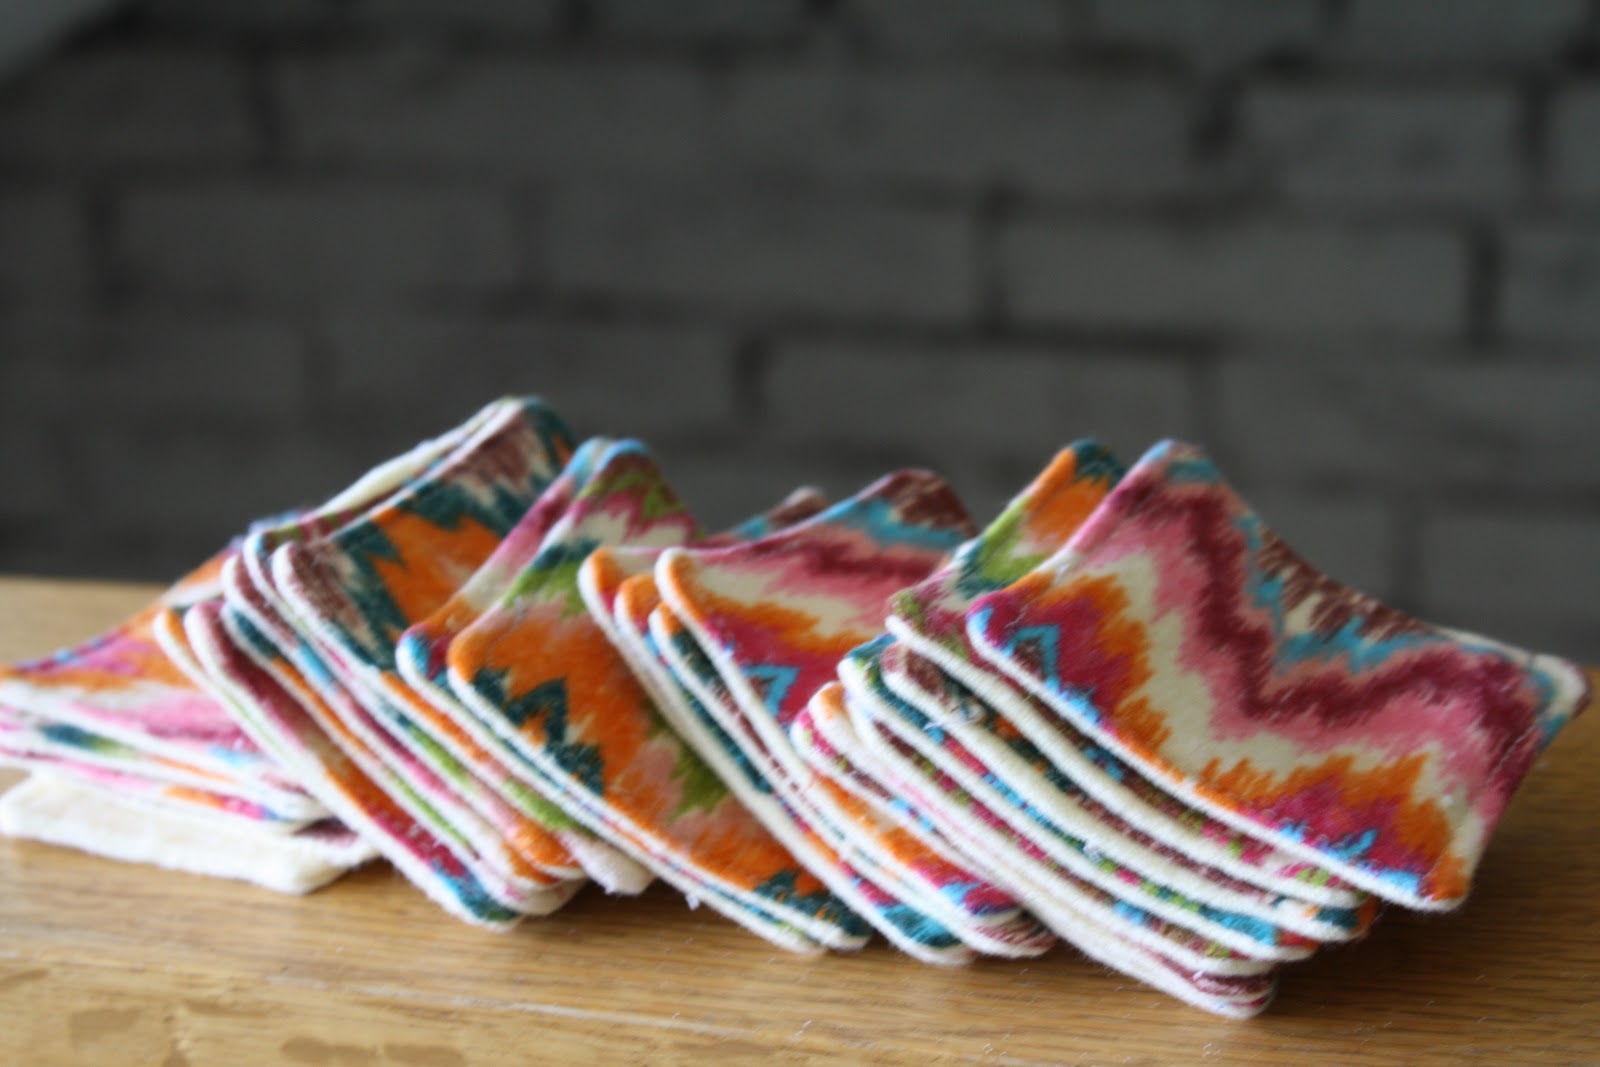
Clip all four corners of your pad and trim off the excess material {not necessary, but it'll make top stitching easier if there's less bulk}. Go ahead and turn your pads right side out, poking out all four corners with a chopstick {or whatever tool you prefer}. Fold the open seam under about 1/4 inch and press with a hot iron to hold it in place. Top stitch around each pad, sewing the opening closed. I sew as close to the edge as possible--about 1/8". You'll probably have to hand crank your corners as it gets a bit bulky and hard to feed through the machine. But once you finish, you'll end up with a pretty little reusable cotton pad like this:


Nice and thick and soft!


I will warn you that this project can be a little time consuming, since you're working with small pieces. But it's totally worth the effort! And if you're going to make a few, why not make a few more so that you'll have enough to last you for a while.


If you need some eye makeup remover to go along with these reusable cotton pads, check out my tutorial for avocado eye makeup remover. It's ah-mazing!


Not up for the project? Want some of your own or for a gift? Email me at lifesongmama@gmail.com for more information about placing your custom order.

Friday, March 8, 2013

DIY Neon Striped Infinity Scarf {Tutorial}


Infinity scarves. They're everywhere. And I've been dying to wear one. But I refused to buy one, because I knew I could easily make one myself for much cheaper. So I put it on my to-do list and there it sat. When I finally got around to purchasing fabric for this project, I realized my mom's birthday was just two days away and I still hadn't gotten her a gift. {I blame mommy brain} So, I purchased a lovely linen-blend fabric that I knew she would love and whipped up my first infinity scarf. She loved it. So back to the store I went, this time for my MIL. {unlucky me--their birthdays are only 10 days apart} She loved her scarf as well {although since she's not on Pinterest I did have to show her how to wear it...}. So finally, I decided it was my turn. Back to the store I went, potty-training tot and little sister in tow. After a potty-training snafu, a mess of cheddar cheese crackers crunched up on the floor, a screaming, hungry baby girl, breastfeeding in the parking lot and sweating like a pig, I had my material and I headed for home. {Note to future potty training parents: even if you think there will be a working semi-decent public restroom at your destination, it's probably best to bring along your potty for times when the sewer lines are backed up and said restroom is unavailable and retail associates are less than happy to help a mom in distress...}


I decided to use a jersey knit material for a lightweight scarf I can wear year round. The linen-blend that I used for my first two scarves also makes a really nice lightweight and pliable scarf. Either way, you'll need two 1/3-yard pieces of fabric {or 2/3 yard of one fabric}. I cut each 1/3 yard piece of fabric right down the center into two 12-inch pieces of fabric. So you'll end up with four strips of fabric, each roughly 6 inches wide. {Precision doesn't really matter with this project. You'll never see a crooked seam. Promise.}


{This was my lovely assistant for this project. Isn't she gorgeous? I'd recommend a drooling, sedentary, quick-to-smile assistant for your project too!}


With right sides facing in, stitch the two pieces of the same fabric together using roughly a 1/2" seam allowance. Repeat this step with the other two pieces of fabric.


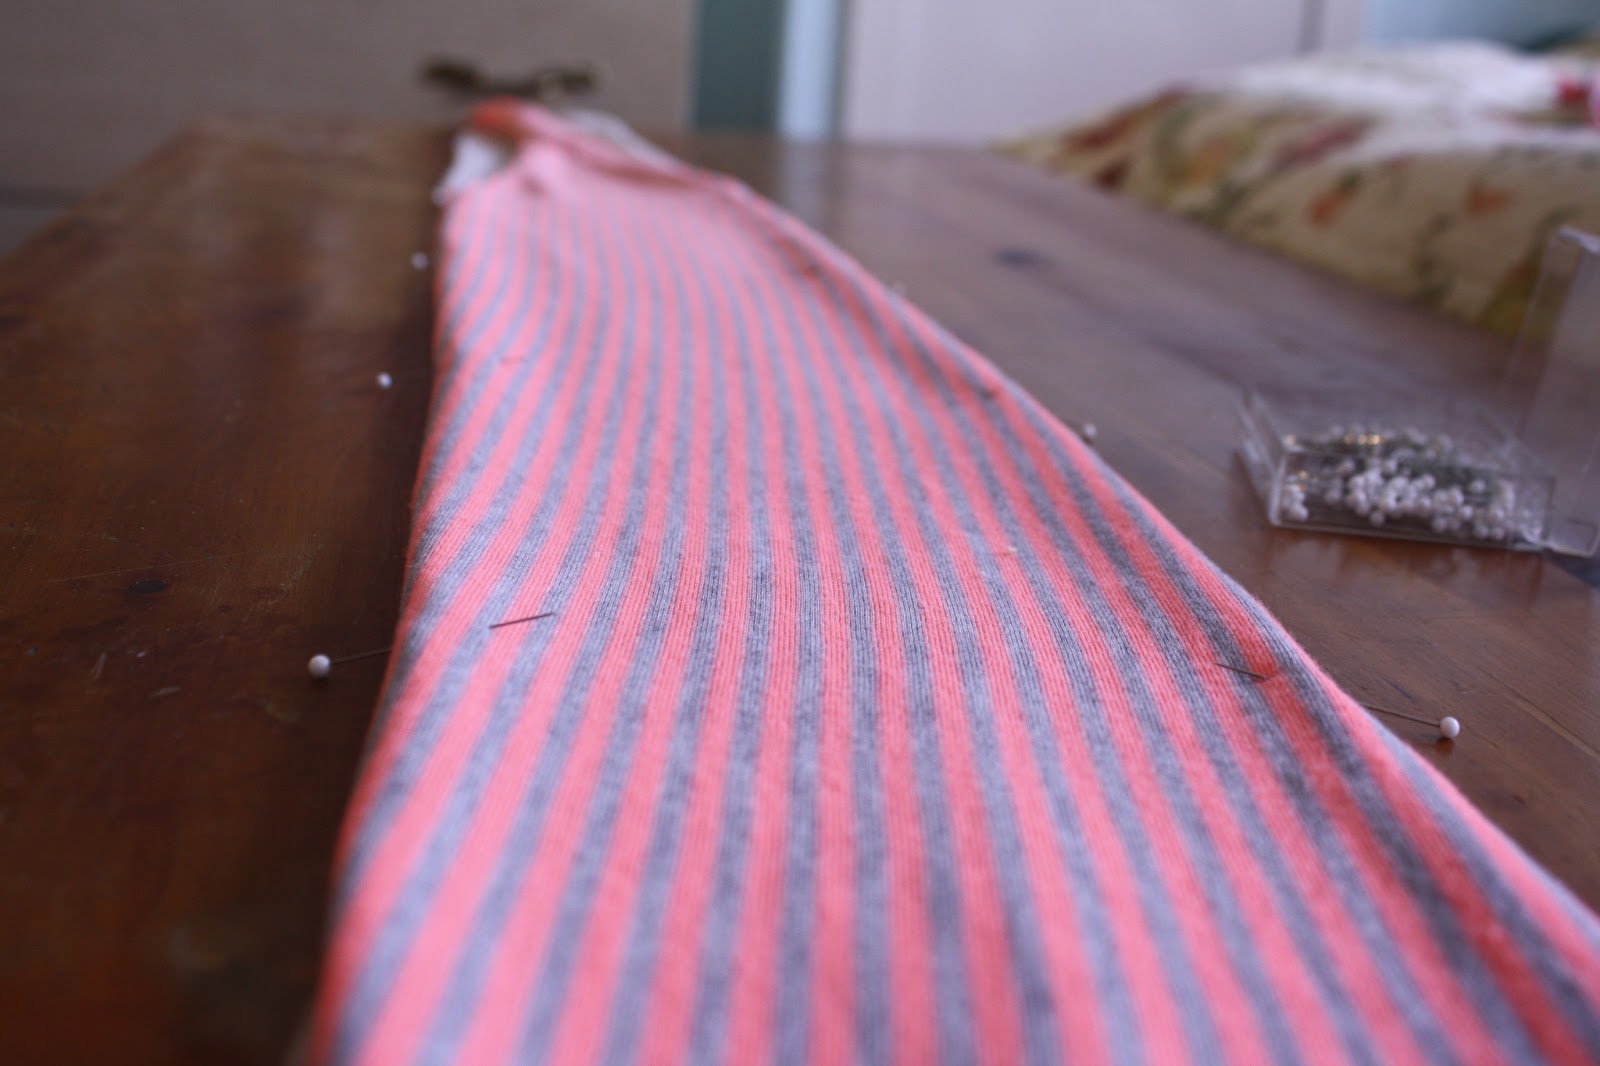
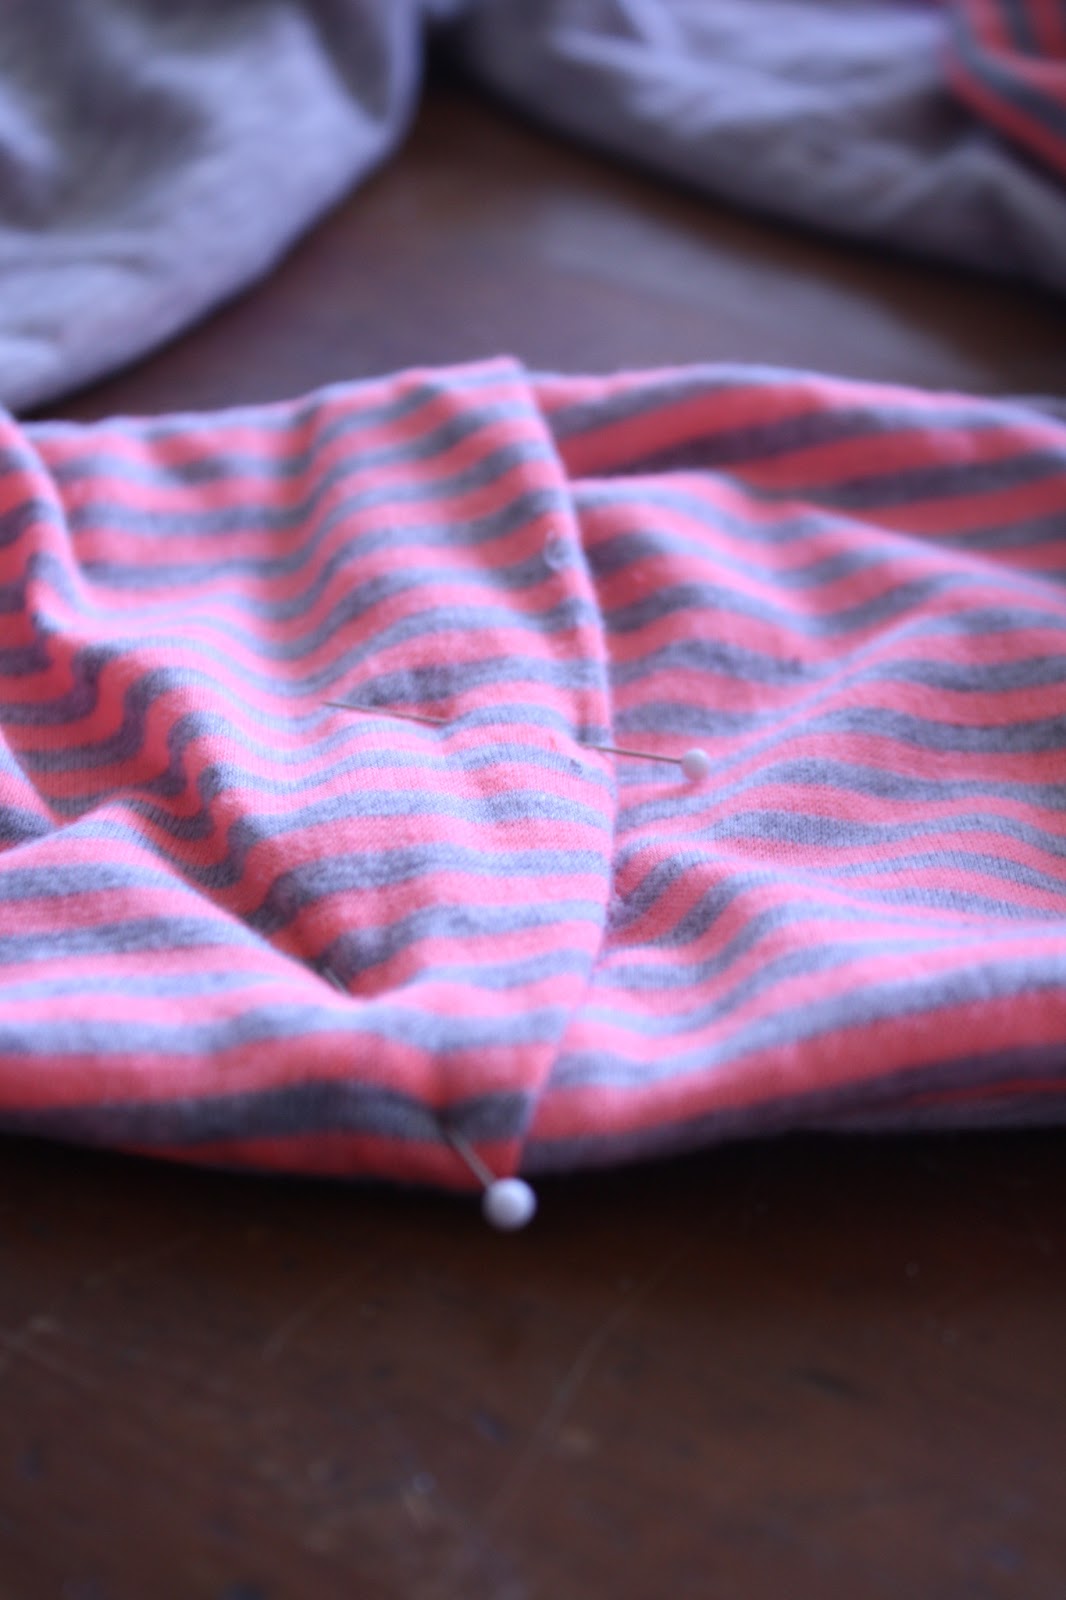
Now you need to pin the two pieces of fabric together. I like to start at the seams and work out to each end, because you will see a mismatched seam. So, with right sides facing in, match seams and pin. From the seam, pin both sides until you reach the end of the fabric.


Don't worry if your ends are uneven. You can just cut the extra fabric to even them up later.


Once you have your scarf pinned, it's time to sew it together. Using about 1/4" seam, stitch around three sides of the scarf, leaving a short end open. {stitch right over the center seams, flattening as you go}


Note: if you're using a jersey knit material, make sure you turn your tension down or else you'll end up with a  bunched seam.


After you've stitched around three sides, turn your scarf right side out, making sure to poke out the corners with a chopstick or other similar tool. Turn down the open edges to make about a 1/2" seam. Iron if necessary. {I was in such a hurry, I skipped this step} Tuck the finished end inside of the open end and pin. If you are using a patterned material, try to match it up. Stitch closed using a 1/2" seam. Stitch the scarf again using a 1/8-1/4" seam. So you'll end up with a seam that looks like this:


And there you have it. An easy, cheap and fun infinity scarf! I think I'll be making quite a few more of these to accessorize my Spring and Summer wardrobes!


{nevermind the potty in the background!}

What about you?